FrostLock® Explained: How an Ice Lock Works for Self-Bondage
A reliable way out is the heart of every solo session, and few releases are as reassuringly simple as ice. There is no electronics, no battery and no signal to drop. An ice lock either melts or it does not, and that honesty is exactly why so many people trust it. This guide walks through how an ice lock like our FrostLock® actually works: the mechanism, how you fill it, how the timing is set, how to build it into a scene, and where its limits are.
The principle: Filling and preparing the ice lock
The idea could not be more straightforward. You fill the chamber of the inner part of the lock with water, freeze it solid, then build it into your setup. While the ice is frozen, it blocks the opening mechanism, and the lock only releases once the ice has melted completely. There is no reset and no way to change the time once it is built in, and that is entirely by design. Nothing to power, no firmware to crash, and no connection to lose. Just a block of ice quietly counting down for you.
You do not measure any water yourself, because the lock does it for you. Take out the inner part, fill the pot completely with water, then push the inner part back in. The excess simply flows out, and what remains is exactly the amount that matches the closing time of that model. No measuring jug, no guessing, no dosing errors. It is a small piece of design that removes a whole category of mistakes.
The catch: an ice lock is already closed
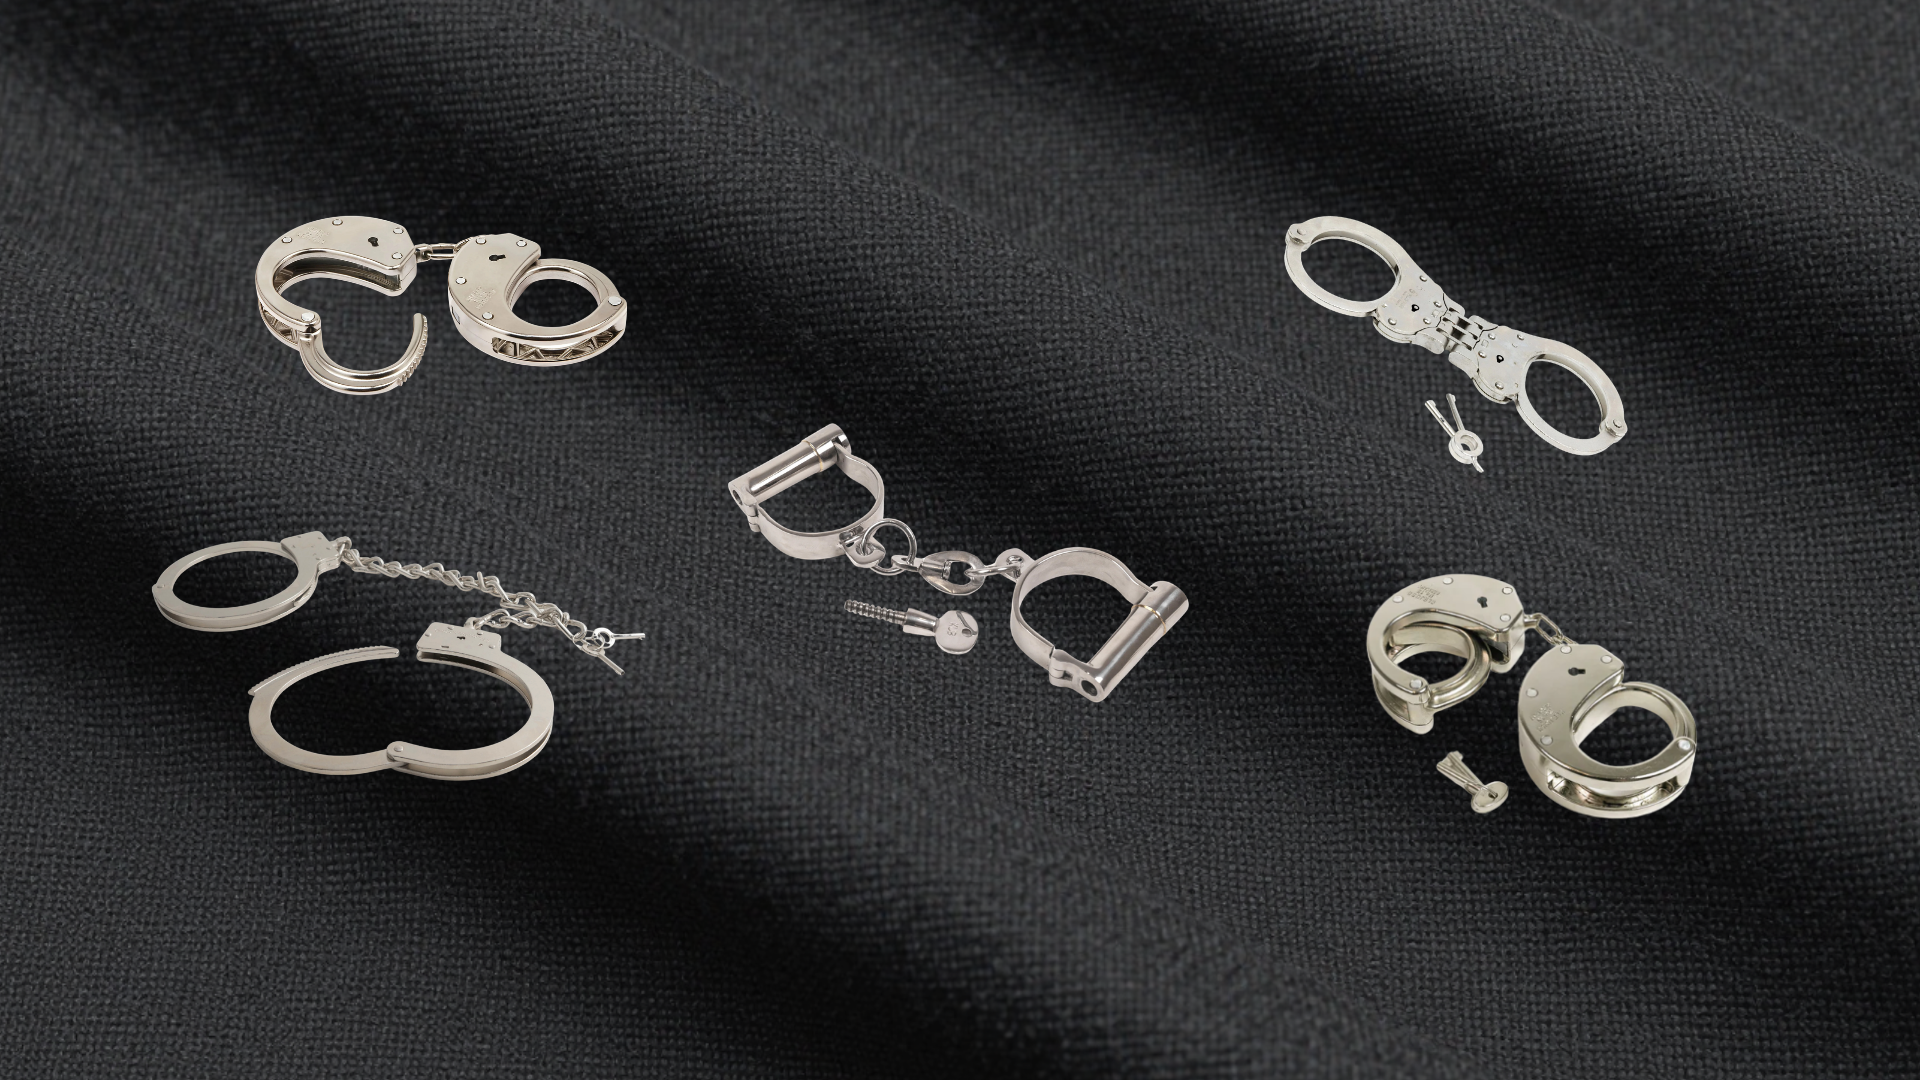
Here is the one thing that surprises people. An ice lock is frozen shut from the beginning of your session, which means you cannot click it closed around your body the way you would a magnetic lock. Everything you attach to it therefore has to be able to close on itself. Separated handcuffs are the classic solution, because they click shut one-handed, which is why they come with our Self-Bondage Starter Set. Our FrostLock® Pro paired with our versatile Quick Cuffs Adapt works the same way and adds a rigid, closer connection between the wrists.
This makes a little planning essential. Before you freeze, decide what attaches to what, and which parts can click shut on their own. Freezing itself has to be planned too, so a truly spontaneous session is not possible: you fill the lock, let it freeze all the way through, and only then build your setup. A lock that is not frozen solid can give you an unpredictable runtime.
Choosing your time: you buy the duration
The closing time is chosen when you buy your FrostLock®, not set afterwards. The FrostLock® Basic comes in four steps from half an hour to four hours, while the modular FrostLock® Pro offers three steps from one to two hours. The Starter Set includes handcuffs and is ready to connect straight out of the freezer. If you want to run several different durations, you will need a lock for each.
| Model | Available Time steps |
|---|---|
| FrostLock® Basic | 0.5 h · 1 h · 2 h · 4 h |
| FrostLock® Pro | 1 h · 1.5 h · 2 h |
| Starter Set (lock + handcuffs) | 0.5 h · 1 h · 2 h |
How long does an ice lock take to melt?
The nominal time of the version you bought applies at a room temperature of 20 °C (68 °F) and is your starting point. You can shorten it by when you take the lock out of the freezer: the earlier you remove it, the less frozen time is left, so some of the countdown happens before you are ever restrained. The second factor is room temperature: a room warmer than 20 °C speeds melting up, a cooler one slows it down and can make it take longer than the nominal time. Test your lock in your own room before you rely on it. Because any pre-melting happens before you are bound, it is completely safe to plan around.
Test it before you trust it
Never build a session on a timing you have only guessed at. Do a dry run in the actual room, at the actual temperature, with a stopwatch, so you know how this lock behaves in your space. And always set up a second way out, ice is forgiving, but only when you have measured it first. For a full backup plan, read our guide Your Self-Bondage Emergency Release.
Ice lock vs. timer vs. magnet
Each release has its own character. An ice lock is independent and irreversible, but only approximate on timing. Our own MagBound® magnetic lock releases instantly when the magnet lets go, with no time element at all. Combined with the Smart Timer it is precise and fully plannable, but it depends on power and a connection.
Reach for ice when you want simplicity and independence, a timer when you need the minute exact, and a magnet when you want direct, on-demand release. For the full side-by-side, see our guide on Self-Bondage Release Methods Compared.
FrostLock® Basic vs. Pro
So which FrostLock® is right for you? Both open the same reliable way, once the ice has melted, so the real question is how you want to connect and expand your setup. The Basic is the straightforward all-rounder, while the Pro is built to plug into the wider AoB system. The table below lays out the differences.
| Basic | Pro | |
|---|---|---|
| Attachment | Fixed ring | M6 thread |
| Combines with | (Separated) handcuffs (e.g. classic police cuffs), chains, anchor points, wall mount | Quick Cuffs Adapt, (separated) handcuffs, chains, anchor points, wall mount, chair mount, eye nuts, medical pins |
| Connection | Flexible | Rigid and close possible (with Quick Cuffs Adapt) |
| Expandable | No | Yes, modular within the AoB system |
| Time steps | 0.5 / 1 / 2 / 4 h | 1 / 1.5 / 2 h |
| Chair mount | Own Basic variant | Own Pro variant |
| Sets | Starter Set with handcuffs | Version with made-to-measure Quick Cuffs |
Both are made in Berlin and individually tested before they ship.
Common mistakes
Four slip-ups account for almost every ice-lock disappointment:
- Stop freezing the lock before it is solid all the way through
- Running a real session without a test run first
- Attaching something that cannot be closed on its own
- Choosing a version whose nominal time does not match what you realistically need
Avoid those four, and an ice lock is one of the most dependable self-bondage releases there is.
Why our ice lock beats stainless-steel ones
Our locks are built from an insulating plastic rather than steel, and that changes everything for the better. Because the material insulates, only a small amount of water is needed, so the lock can be compact and hold your hands closely together rather than far apart. There is no need for a mat or towel either, since only a few drops of water ever escape as it melts. And the position of the lock on your body simply does not matter, because it is so well insulated that body heat is not a meaningful factor.
Frequently asked questions
-
How do I choose the closing time?
You pick it through the version you buy. -
How much water do I fill in?
Fill the pot completely; inserting the inner part regulates the rest automatically. -
Can I overfill it?
No, that is physically impossible by design. -
Can I change the time of a lock I already own?
You can shorten it by taking it out of the freezer earlier. In a room cooler than 20 °C (68 °F) it takes longer. -
Can I change the time once the lock is built in?
No, and that is exactly the point. -
Why can't I click the lock shut myself?
Because it is already frozen closed, so whatever you attach must close on its own. -
Does it make a mess as it melts?
No, only a few drops of water come out. -
Does it matter for the melting process where the lock sits on my body?
No, it is well insulated. -
How often can I reuse it?
Unlimited times. It carries a two-year warranty, with repairs and spare parts available afterwards.
Gear mentioned in this guide
- FrostLock® Basic
- FrostLock® Pro
- FrostLock® Pro with Quick Cuffs included
- Quick Cuffs Adapt
- Self-Bondage Starter Set
- Chair Mount for FrostLock® Pro
- Chair Mount for FrostLock® Basic
- Wall Mount
New to solo play? Start with our self-bondage hub, and ground any setup in Risks in Self-Bondage. For the electronic side of timed release, see the MagBound® Time Lock FAQ.